Creating a paper map effect
Somehow, the existence of ‘web components’ a.k.a. custom elements has been under my radar for the past years. I knew they existed, but always wrote them off as not being supported in modern browsers. Turns out, this is not true at all. Since some years already, web components have been in use all over the web.
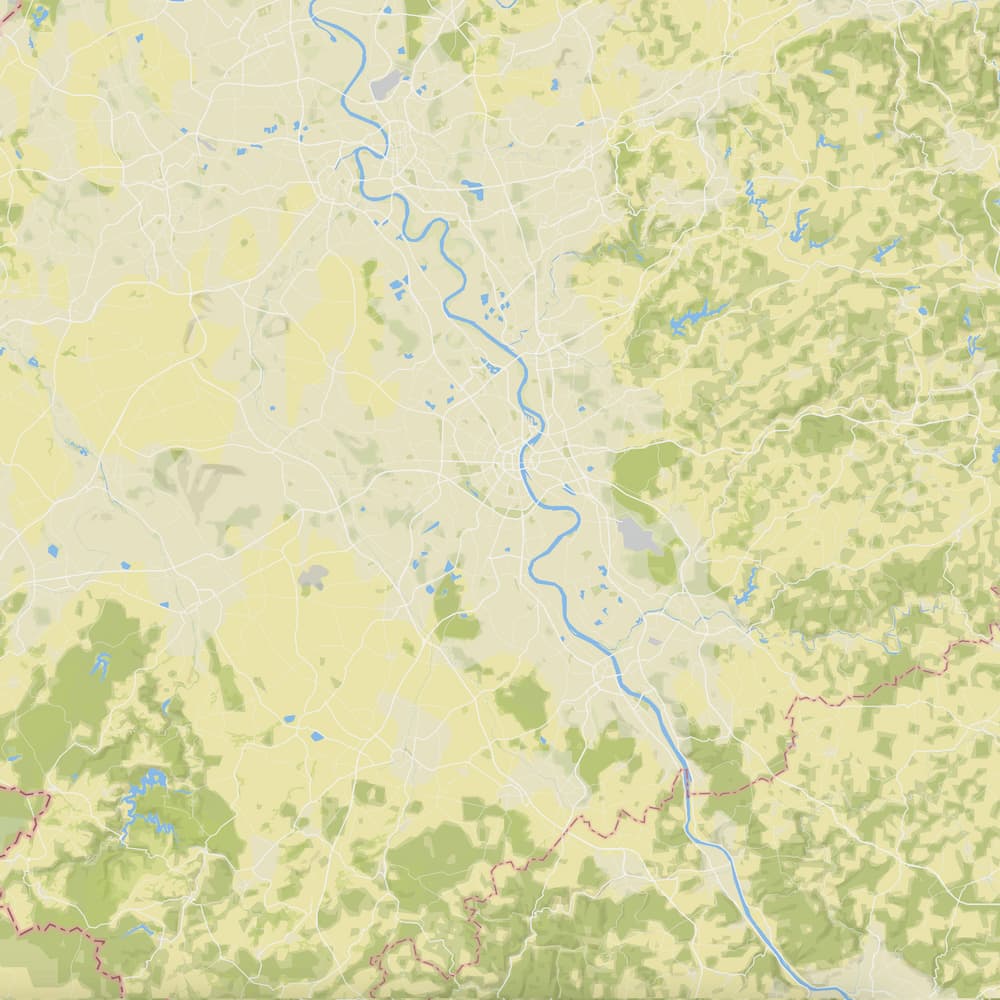
To get to know the concepts and APIs I took upon building a little components for the Cologne hiking website I have been setting up: tageswanderungen.koeln.
The final effect I’m aiming for looks like this:
Which can be initiated using the following HTML:
<map-effect src="map.jpg">
  <img src="map.jpg" />
</map-effect>
<script src="map-effect.js"></script>
What’s happening?
The detail to notice here is that the effect gets created by providing a single
(map) image. The wrapper component then duplicates this image multiple times and
gives some of them a little shadow. Besides that the mouse-move effect is added
which adds some rotateX & rotateY based on the mouse position.
Progressive enhancement ✨
It’s important to notice that the image is defined twice in the source code. Once as a normal inside the web component definition, and once as an attribute on the web component itself. The reason for this implementation, is that the image inside the web component gets shown anyway, also when the web component for whatever reason doesn’t manage to load. So the end user will see the map either way, they might just be missing out on the nice colour and rotation effect.
Custom Elements
On the Javascript side there are some new APIs which enable the usage of such
custom HTML Elements. No surprise, it’s called customElements. To define a new
custom element goes like this:
customElements.define( "map-effect", class extends HTMLElement { ... } );
The HTMLElement class then has some methods which get called on different moments in the lifecycle of the element.
A very simple element could look this this:
<h1>Demo 👇</h1>
<test-element></test-element>
<script>
    customElements.define('test-element', class extends HTMLElement {
        constructor() {
            super();
            this.innerHTML = 'Test';
        }
    })
</script>
The cool thing, or one of the cool things of this, is that nowhere in the Javascript code there needs to be something like:
document.querySelectorAll("test-element").forEach((el) => {
    new HTMLElement(el));
});
By registering the custom element, it automatically becomes available, gets created, and receives lifecycle events. No need to manage this yourself.
In case of the <map-effect> element, I take the src attribute of the element,
using this.getAttribute("src") and use that to create four image. Two of those
image I then give a darker color in CSS using filter: brightness(90%);.
Check out the full source code of the custom element on Codepen:
codepen.io/Lumocra/pen/RwvrrMb